Instructional designers are not only tasked with traditional design projects anymore, but are expected to design in a more human-centered approach. The design thinking process can help designers achieve exactly that. It consists of five stages that aren’t necessary linear, but require the designer to go back and forth in order to create the best learning experience. The five stages are Empathize, Define, Ideate, Prototype, and Test.
Designer connect with the learner and gain more insight in the Empathize and Define stages [link to previous posts] by interviewing learners, observing them, creating empathy maps and learner personas. Once designers interpreted the data from these stages, they define a problem statement and are ready to ideate [link to previous post]. In the Ideation stage, designers are looking at every possible angle for their problem statement. Methods like brainstorming, brainwalking, worst possible idea, mind maps, storyboards or analogies can help designers in this stage to come up with a list of possible solutions. Equipped with a multitude of ideas, designers move to the Prototype stage.
Prototype
In this stage, the design team produces a number of inexpensive, scaled down versions of the solution. The goal is to investigate which problem solution is the best possible solution for the design challenge at hand. It is recommended to share prototypes within the team and if possible with a wider audience. In this experimental phase, designers accept, improve and re-examine or reject solutions based on the user’s experience. Through this process, the design team will be better able to tell how a real user would behave, think and feel when interacting with the learning solution. In this stage, designers move from an abstract idea to a more tangible product.
Types of Prototyping
Prototyping doesn’t have to be time-consuming, expensive or difficult. Different fidelity levels allow designers to come up with solutions quickly. Fidelity means the level of detail, functionality or interactivity that a prototype has. Here are some ideas.
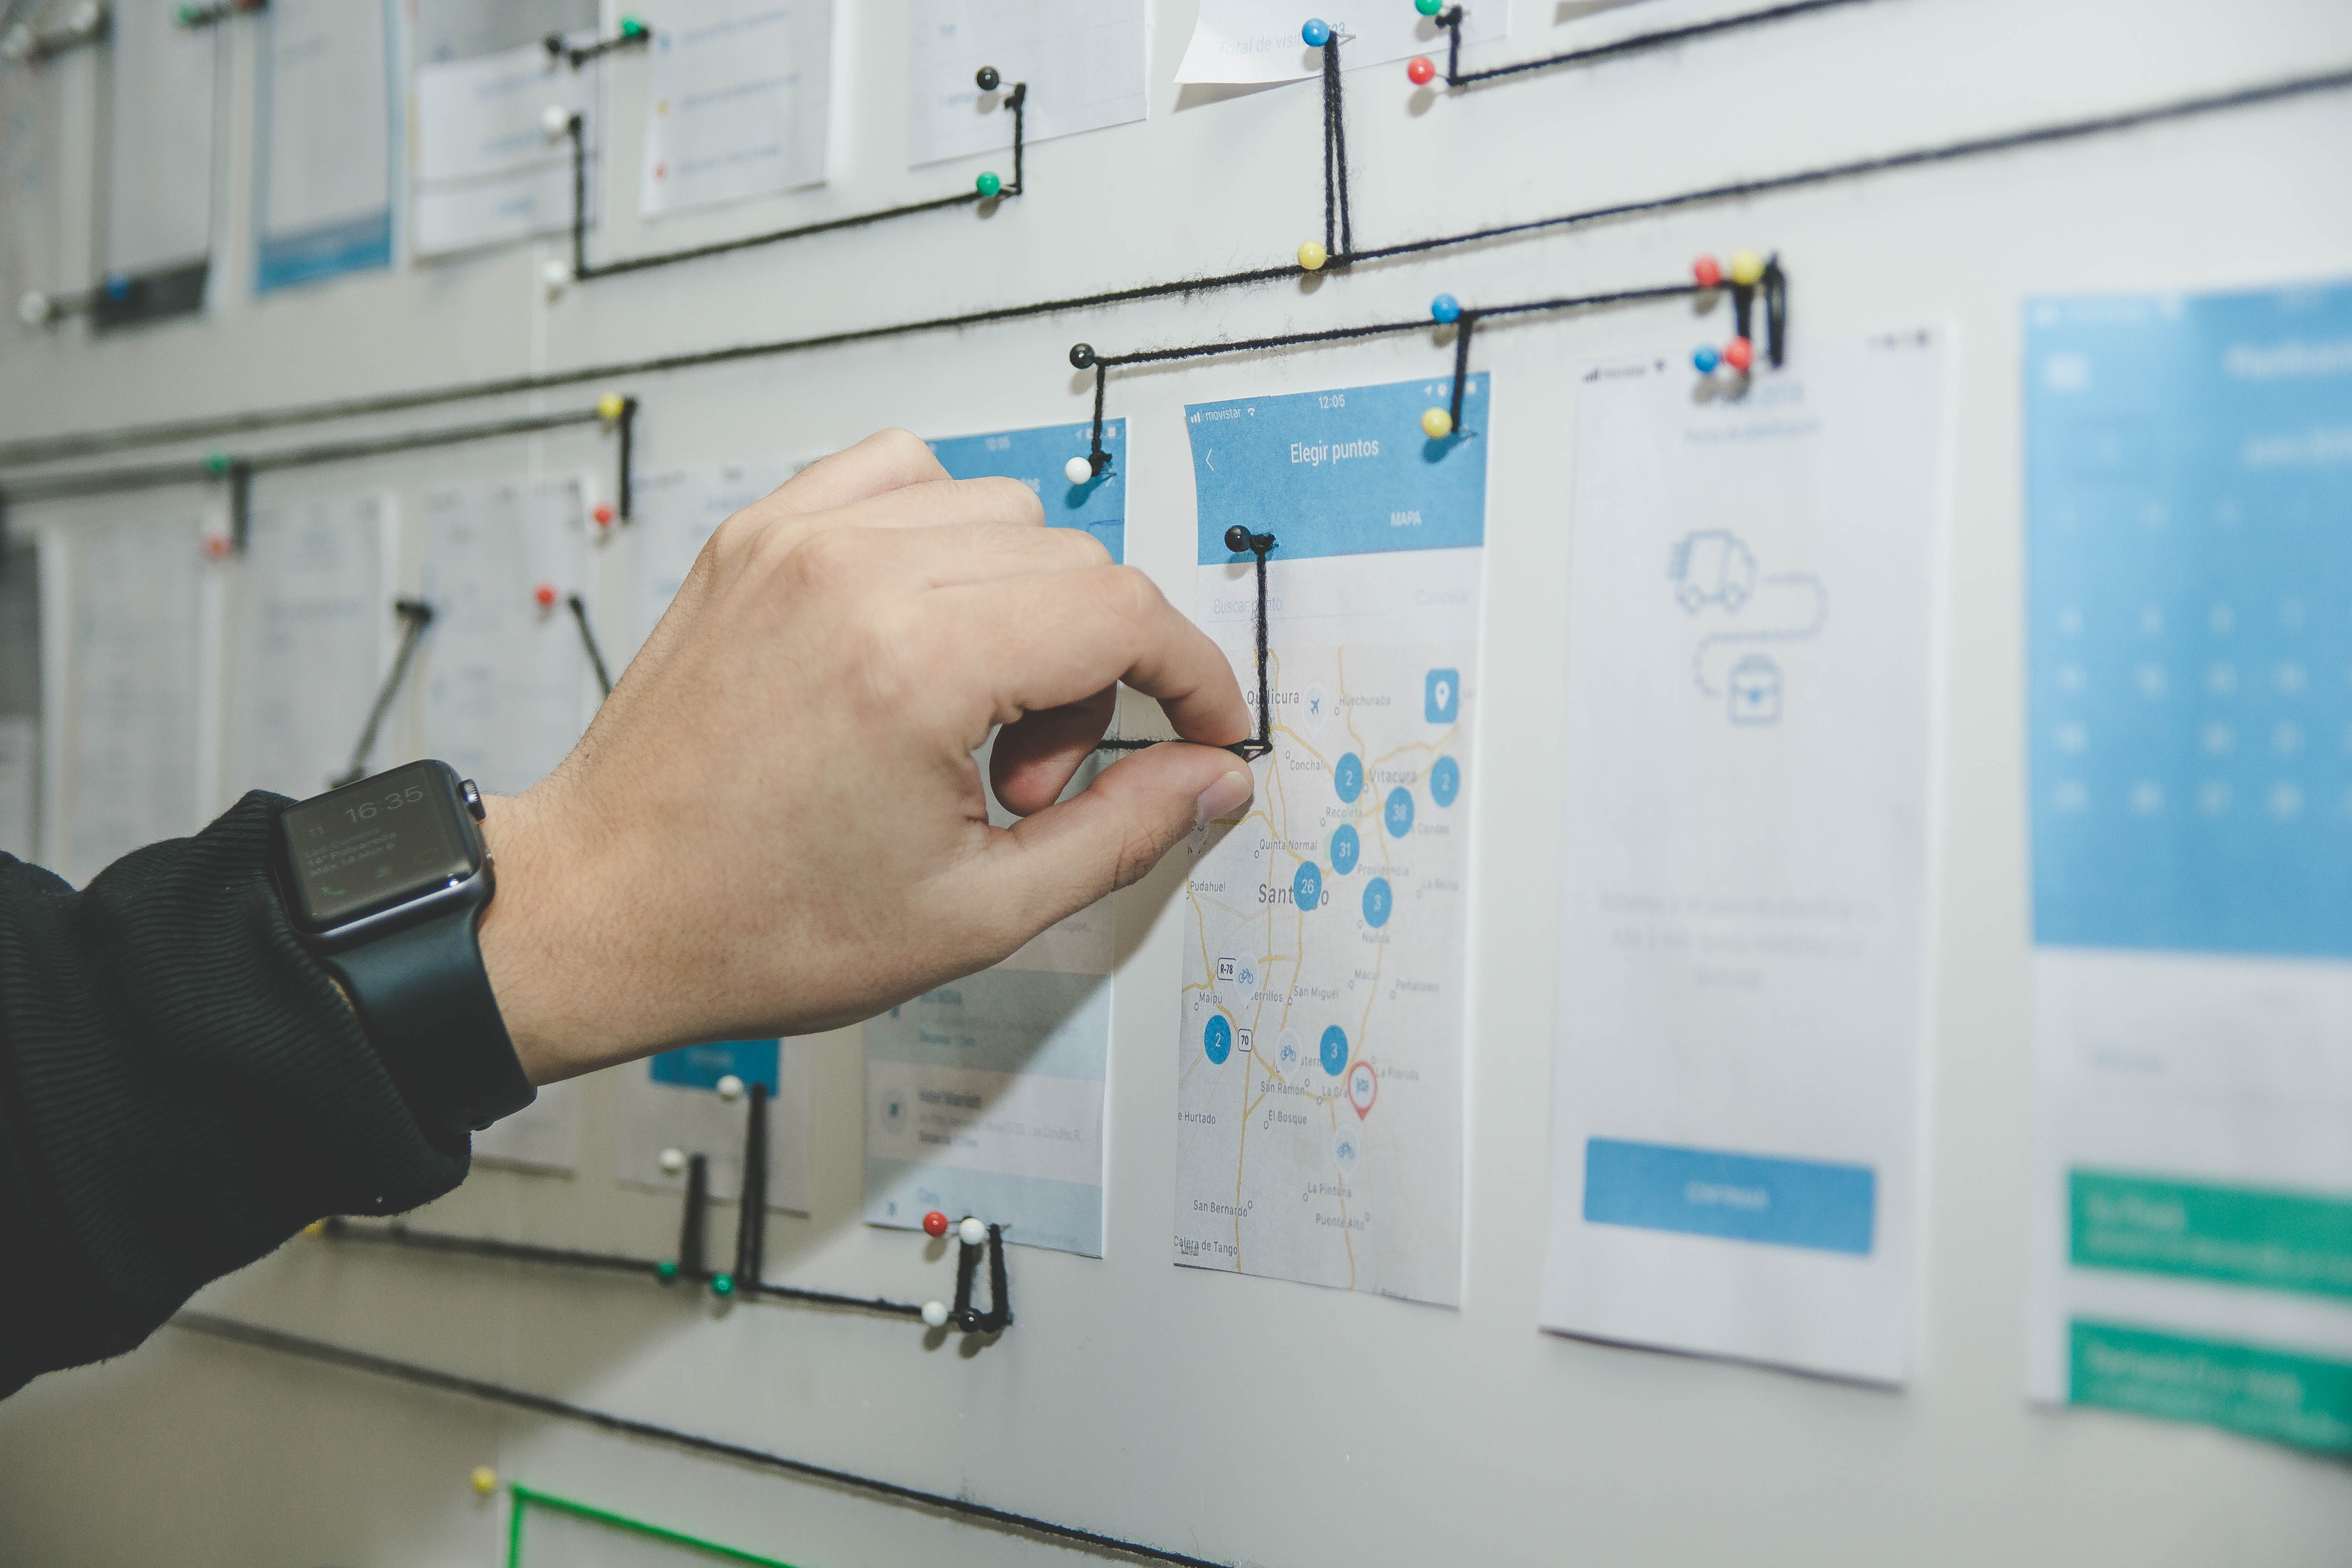
Low-Fidelity Prototyping
Low-fidelity means that the prototype doesn’t have a lot of detail, no images or colors. Instead, it uses placeholders for images and text, but shows the flow and functionality of a solution. It can be created on paper and be a simple visualization and doesn’t require any expensive software. Storyboarding, sketching and card sorting are two very inexpensive and simple ways to create low-fidelity prototypes. Low-fidelity prototyping is quick and inexpensive, and allows for instant changes. It helps designers to get an overall view of the end-solution using minimal time and effort. On the other hand, low-fidelity has a lack of realism and may lack validity
High-Fidelity Prototyping
These prototypes look and function closer to the finished product. It could be a 3D model with moveable parts or using a prototype tool to build out the experience on a phone or desktop computer. This prototype has most design assets and components developed and integrated. High-fidelity prototypes are more engaging for the users to test and it is easier to judge if this solution will work. They do, on the other hand, take much longer to create and users might focus more on small details instead of the content presented. It takes longer to update high-fidelity prototypes as well and sometimes, it is difficult for a designer to make changes after hours and hours have been invested in building the prototype.
Guidelines for Prototyping
Designers might start with low fidelity and then move to high-fidelity at a later stage in the design process. Don’t overthink this process and simply start building a prototype. It will help you think about the learning solution in a different way and potentially give you different insights. Don’t spend too much time, money and resources on the prototype as to not get emotionally attached to it, in case you have to make changes later. Never lose sight of the issue you are trying to test with your prototype, and always build with the user in mind.
Tags: Design Thinking, Learning Experience, Usability, UX/UI
Trackback from your site.