Posts Tagged ‘Usability’

How Design Reviews Elevate Digital Learning Experiences

“I don’t like it, but I can’t really say why.”…..“Once I see it, I will be able to tell you if it is what I had envisioned.”…..“I can tell you what I don’t like about it.”

We all heard this feedback from clients before, or even our own internal teams. Design reviews take patience and understanding, but if run well, are certainly an invaluable source of feedback. But what makes a good design review and how can you get the most out of it to elevate your digital learning experiences?

What Is a Design Review

Just to be clear, I’m not referring to instructional design here, but the design of the digital learning experience overall (something overlooked too often): the graphic user interface (GUI), images and photographs, buttons and icons, the user flow and the user experience all of these elements create. First and foremost, the design of any digital learning experience needs to be evaluated against project requirements and outcomes. Yes, it’s not just the content and the instructional design, but the design overall!

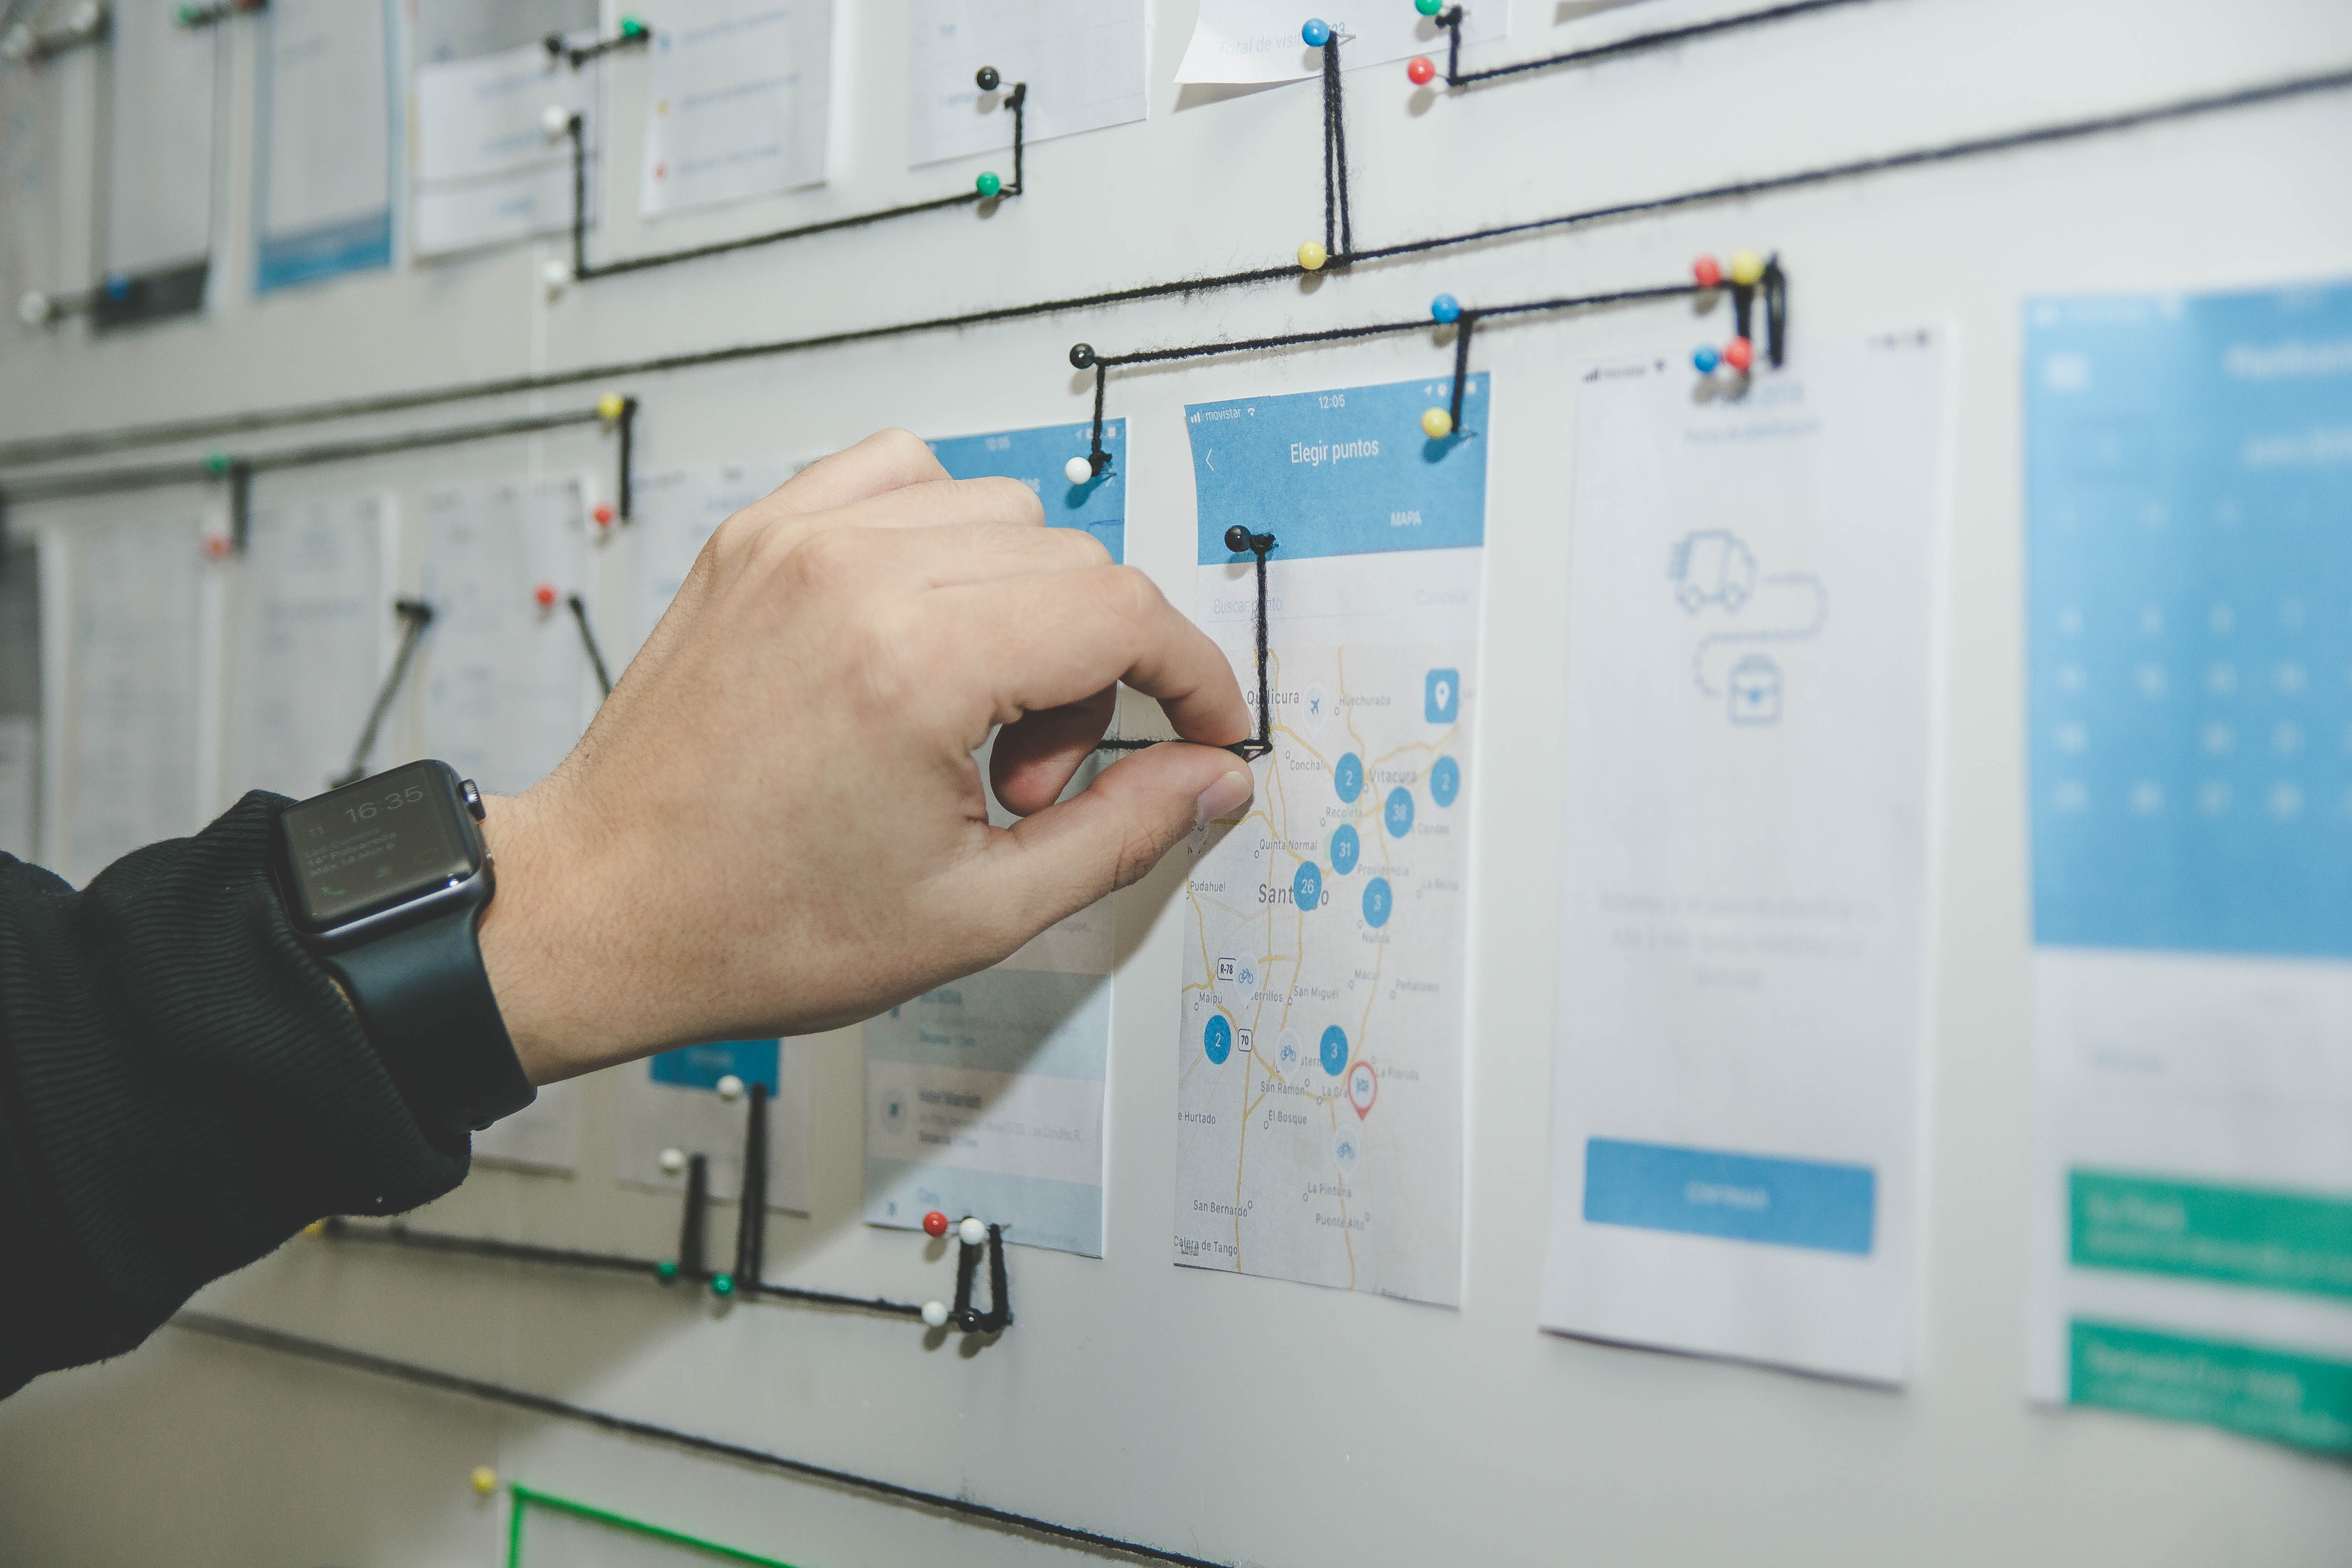
Usually, design reviews can be found in product development, but with learning experience design on the rise, L&D professionals should take a good look at this practice. It is a step in which design and development work together and talk about sketches for page layouts, mock-ups of icons and imagery to get feedback on all of these design decisions. It’s not a pitch, but a process to evaluate and critique current design work.

How Do I Conduct a Design Review?

Design reviews are best conducted in a face-to-face or virtual meeting. It’s imperative for the teams to be together, discuss and evaluate work to date and agree on next steps. A design review cannot be conducted through email or instant message. You might be able to share some additional thoughts after a design review meeting, but ensure you make the time to meet in person first. It’s worth it.

It can be helpful to decide on a formal process that supports collaboration, creates a productive environment, is repeatable and most important of all, leads to an improved design. Some rules you could incorporate include:

  • Have at least one design review session per project
  • Have no more than 6 people in one session
  • Bring in different people all the time to broaden point of views
  • Bring in people that aren’t familiar with the project to get a fresh perspective
  • The primary designer should lead the session

Steps to Take Before a Design Review

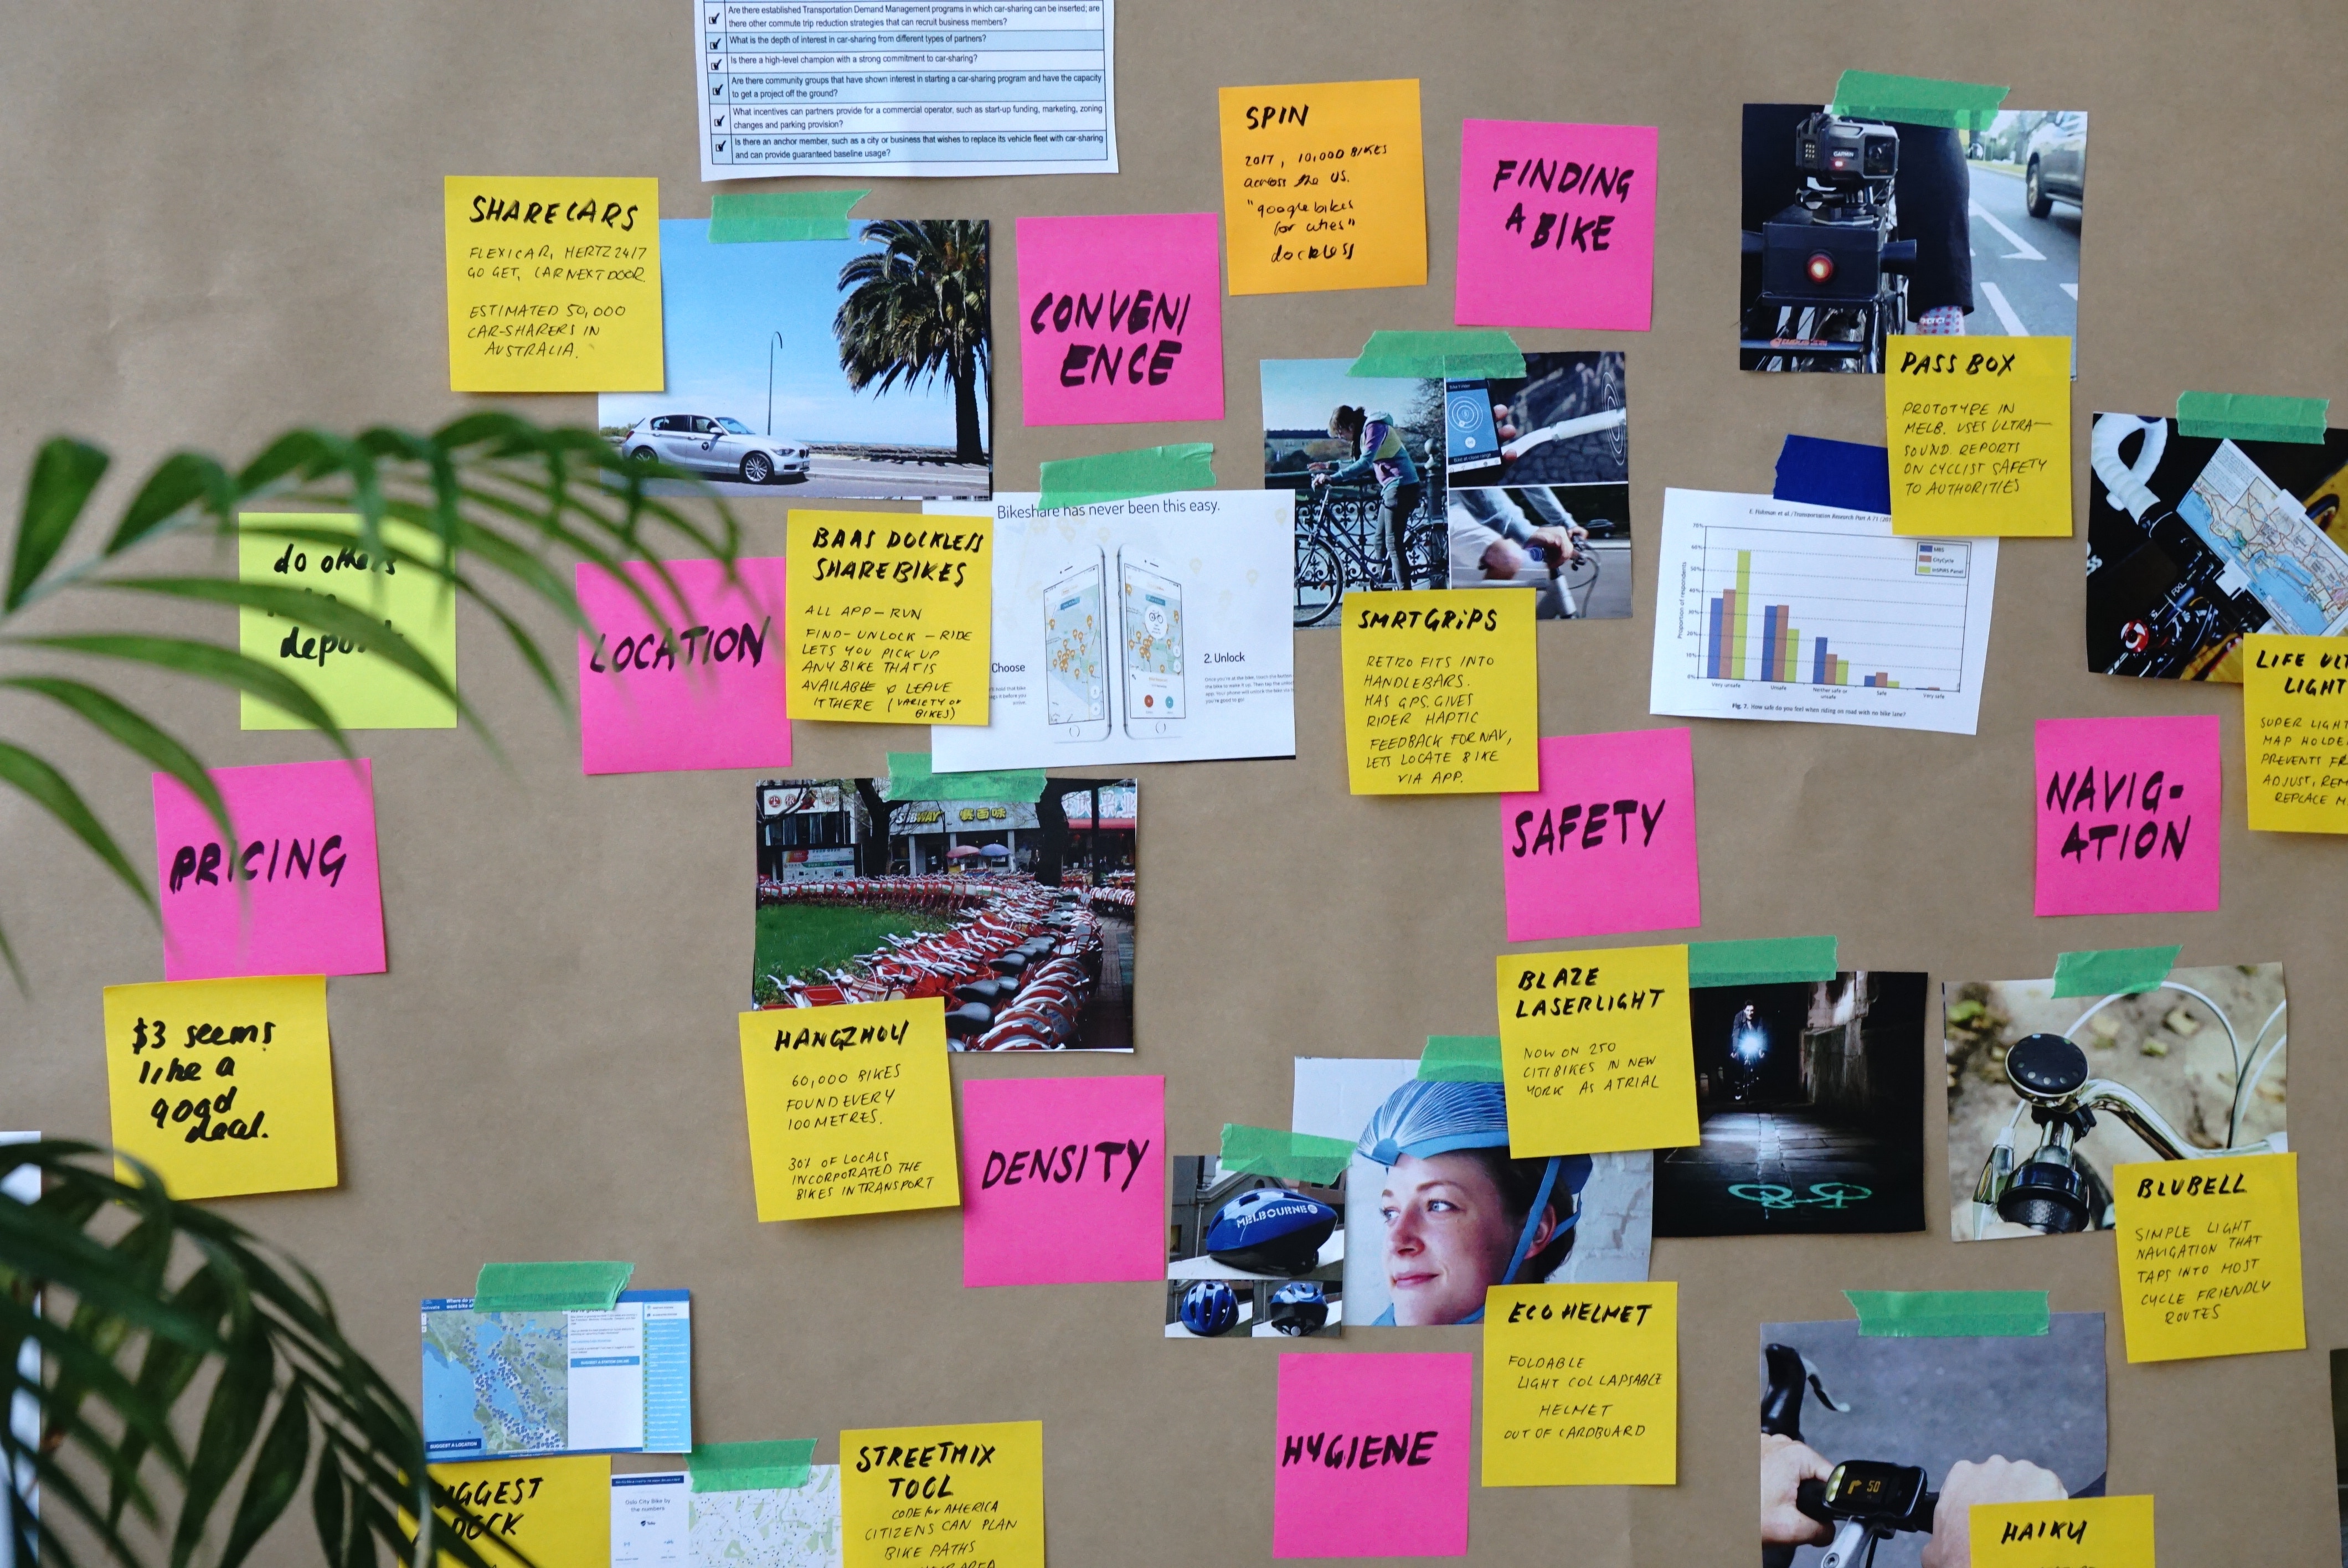
Most important of all, the lead designer needs to keep the session moving and under one hour. That means, organization and preparation are key. Once the people that need to attend have been chosen, send a meeting invite and state the overall project overview, the goals and outcomes, as well as timelines, deliverables and constraints. This way, everyone can come prepared to the session. It might be helpful to create a checklist or template to ensure all points are hit. Before the session starts, ensure you have everything ready that you want to show, including mock-ups, prototypes and examples from other projects that could help inspire the team.

Steps to Take During a Design Review

To start the session, the lead designer should state the goals of the design review and what she hopes to achieve at the end of it. Ideally, limit the number of outcomes per session to really focus on only a couple of elements instead of trying to save the world all at once. It is best to write the outcomes on a whiteboard for everyone to see. Question to cover could include:

  • What are the first impressions from a 1-second or 5-second test?
  • What do we want the learner to do on this page?
  • Is that call to action obvious?
  • What happens if we remove a section?

Participants should be given ample time (15-25 mins) to explore materials, prototypes and mockups themselves without interruption before going into a productive discussion. Encourage them to take notes throughout, prioritize their feedback, and focus on the end user experience.

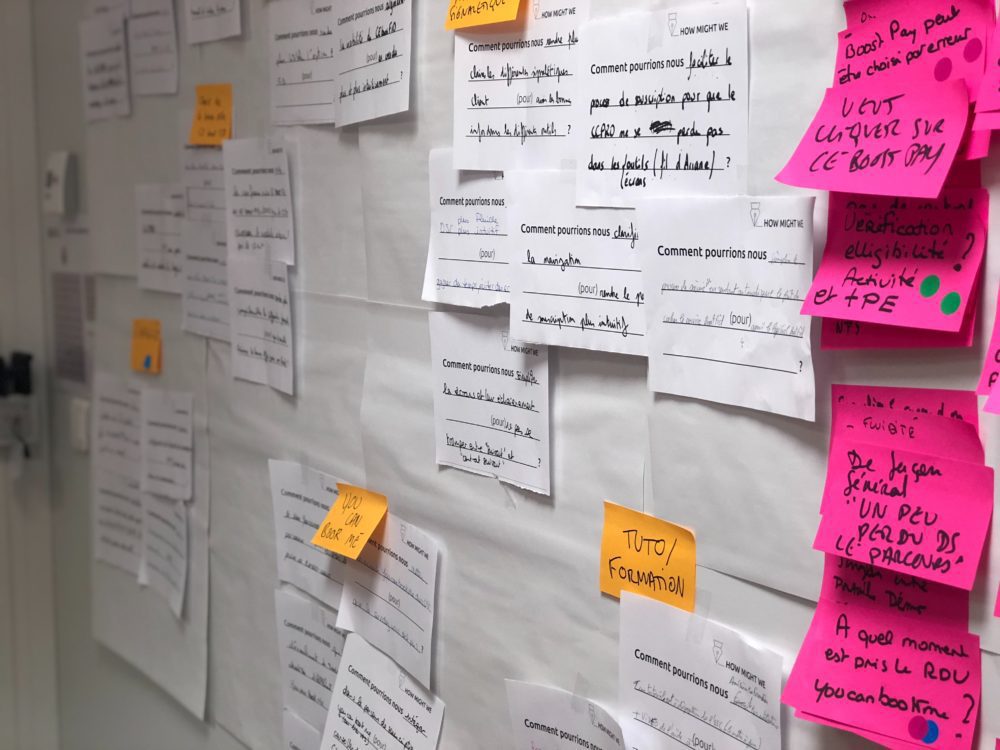
Then it’s time to dive into the discussion. Everyone in the room gets to share one piece of feedback at a time; the group then discusses it before moving on to the next item. Capture all feedback in digital format so it can easily be accessed later. No decisions are made during this step. Not everyone will always agree on everything so here are some tips to keep the session moving:

  • Avoid feedback that’s subjective or emotional
  • Don’t let discussions drag and one person dominate the room
  • If people disagree on an idea, write it down for later
  • Have participants vote on ideas
  • Not every feedback is good so plan to disregard ideas

With ten minutes to spare, wrap up the session and let everyone know that notes will be shared. This way, participants can add more feedback if they wish.

After The Design Review

The lead designer needs time to iterate and think about each piece of feedback. The designer makes the call on what feedback to keep and what feedback to disregard. Remember though, you are not your design so check your ego at the door and really listen to the valuable feedback that was shared. Prioritize the items you wish to change and turn them into actionable items to be addressed by the appropriate people.

A well-organized design review not only supports collaboration within your team, but helps to strengthen your team overall as well as the learning experience. You might even consider adding your clients or learners to these meetings. Designers might find it challenging in the beginning to run design review sessions, but over time, they will be an invaluable tool in your toolbox to help you elevate digital learning experiences.

Continue Reading No Comments

Design Thinking – Stage 5: Test

Design thinking is becoming more and more prevalent in training design. Consisting of five stages (Empathize, Define, Ideate, Prototype, and Test) [link to previous articles], it is a human-centered design approach that helps designers create outstanding learning experiences.

Through interviews, observations, the creation of empathy maps and learner personas, designers connect with the learner and gain valuable insights in the Empathize and Define stages. In the Ideation stage, data collected in the first two stages is interpreted and designers define a problem statement before ideating some concepts. Equipped with a variety of ideas collected through brainstorming, mind maps or analogies, designers move on to the Prototype stage, in which they produce a number of  inexpensive, scaled down versions of the solution. The prototype should be shared within the team and a wider audience to get as much feedback as possible. In this stage, designers move from an abstract idea to a more tangible product. Once a prototype is in place, the designer can move on to test the solution.

Test

It’s most important to remember that, despite the fact that testing is the last step in the design thinking process, it is certainly an iterative process. Meaning, results from the test phase are used to redefine problems, inform the understanding of users, how people think, behave and feel. Rigorous testing should be done not just by the designer, but by other evaluators to ensure the solution meets the learners’ needs. As a result, designers may have to go back to the drawing board and come up with a different solution.

User Testing

User testing can certainly happen throughout the design thinking process, but let’s take a look at some ways of conducting good usability tests. It is best to use a natural setting to test the prototype, meaning the familiar environment the learner is used to. The goal should be to have learners use the prototype like they would in real life as much as possible. Follow these guidelines for best outcomes:

  • Tell the user that you are testing the prototype, not the user
  • If possible, have alternatives for the prototype so you can test which version works best
  • Do not over explain the prototype but watch the learner use it, and write down your observations
  • Ask users to talk through their experience when using the prototype
  • If you only want to test certain portions of the prototype, have specific  tasks ready that the learner should perform
  • When you observe the learner, make sure you don’t disrupt the user’s interaction
  • Ask follow-up questions to clarify what the user is describing
  • Think about having an additional person to take notes and write down observations so you can focus on the learner

Negative and Positive Feedback

Don’t be discouraged by negative feedback. On the contrary, negative feedback can provide lots of insights into your solution. It can help designers find new ways to solve the same problems, or help discover previously unconsidered problems. Designers have to seek feedback wherever possible, conduct test using real end-users, analyze the results to determine what’s working and what isn’t. The end goal is a desirable, feasible and viable solution.

Desirable and Feasible Solutions

Desirability relates to the focus on people. It is at the heart of design thinking: human-centred design. A solution always needs to be appeal to the needs, emotions, and behaviours of our learners. Feasibility refers to the technology in place and answers the question if your design solution is technically possible. Technology shouldn’t hold you back, but sometimes a solution cannot be implemented without occurring huge costs.

To summarize, despite having five, as it seems liner stages, the design thinking process is fluid, iterative and flexible. Stages feed into one another and form iterative loops, they don’t follow necessarily any sequence in a project. The best gauge of success is when your training solution satisfies the desirability and feasibility tests.

Continue Reading No Comments

Design Thinking – Stage 4: Prototype

Instructional designers are not only tasked with traditional design projects anymore, but are expected to design in a more human-centered approach. The design thinking process can help designers achieve exactly that. It consists of five stages that aren’t necessary linear, but require the designer to go back and forth in order to create the best learning experience. The five stages are Empathize, Define, Ideate, Prototype, and Test.

Designer connect with the learner and gain more insight in the Empathize and Define stages [link to previous posts] by interviewing learners, observing them, creating empathy maps and learner personas. Once designers interpreted the data from these stages, they define a problem statement and are ready to ideate [link to previous post]. In the Ideation stage, designers are looking at every possible angle for their problem statement. Methods like brainstorming, brainwalking, worst possible idea, mind maps, storyboards or analogies can help designers in this stage to come up with a list of possible solutions. Equipped with a multitude of ideas, designers move to the Prototype stage.

Prototype

In this stage, the design team produces a number of inexpensive, scaled down versions of the solution. The goal is to investigate which problem solution is the best possible solution for the design challenge at hand. It is recommended to share prototypes within the team and if possible with a wider audience. In this experimental phase, designers accept, improve and re-examine or reject solutions based on the user’s experience. Through this process, the design team will be better able to tell how a real user would behave, think and feel when interacting with the learning solution. In this stage, designers move from an abstract idea to a more tangible product.

Types of Prototyping

Prototyping doesn’t have to be time-consuming, expensive or difficult. Different fidelity levels allow designers to come up with solutions quickly. Fidelity means the level of detail, functionality or interactivity that a prototype has. Here are some ideas.

Low-Fidelity Prototyping

Low-fidelity means that the prototype doesn’t have a lot of detail, no images or colors. Instead, it uses placeholders for images and text, but shows the flow and functionality of a solution. It can be created on paper and be a simple visualization and doesn’t require any expensive software. Storyboarding, sketching and card sorting are two very inexpensive and simple ways to create low-fidelity prototypes. Low-fidelity prototyping is quick and inexpensive, and allows for instant changes. It helps designers to get an overall view of the end-solution using minimal time and effort. On the other hand, low-fidelity has a lack of realism and may lack validity

High-Fidelity Prototyping

These prototypes look and function closer to the finished product. It could be a 3D model with moveable parts or using a prototype tool to build out the experience on a phone or desktop computer. This prototype has most design assets and components developed and integrated. High-fidelity prototypes are more engaging for the users to test and it is easier to judge if this solution will work. They do, on the other hand, take much longer to create and users might focus more on small details instead of the content presented. It takes longer to update high-fidelity prototypes as well and sometimes, it is difficult for a designer to make changes after hours and hours have been invested in building the prototype.

Guidelines for Prototyping

Designers might start with low fidelity and then move to high-fidelity at a later stage in the design process. Don’t overthink this process and simply start building a prototype. It will help you think about the learning solution in a different way and potentially give you different insights. Don’t spend too much time, money and resources on the prototype as to not get emotionally attached to it, in case you have to make changes later. Never lose sight of the issue you are trying to test with your prototype, and always build with the user in mind.

Continue Reading No Comments

Design Thinking – Stage 3: Ideate

Design thinking finds its way more and more into training, and instructional designers are tasked with using this human-centered approach. It consists of five stages: Empathize, Define, Ideate, Prototype, and Test.

In the Empathize and Define stages, designers connect with the learner and gain more insight into what drives and motivates them through interviews, observations, empathy mapping and learner personas. Equipped with that knowledge, designers can leverage all this information and organize, interpret and make sense of it, which helps them define a problem statement. A good problem statement is human-centered, broad enough for creative freedom, narrow enough to make it manageable, and actionable. Designers can use a simple post-it technique to gather their thoughts, use the Point of View (POV) problem statement approach, or use the How Might We Question (HMW) question technique to define the problem statement. The first two stages are the basis for the Ideation stage in which designers generate ideas. In the Ideation stage, designers think outside the box to identify new solutions to the human-centered problem statement. In order to stimulate free thinking, there are a couple of different techniques designers might use to get as many ideas or problem solution as possible.

Ideate

Generating ideas can be a challenging task if designers are not in the right environment and are able to take a step back. The Ideation stage is about looking at every possible angle for the well-defined problem statement. It is about pushing boundaries and effective collaboration. Some best practices for the Ideation stage include having a skilled facilitator leading the session, working in a creative environment featuring the work from the two previous stages, setting a time limit, and having a “there are no bad ideas” mindset. Designers should be bold and curious, challenge common beliefs and explore each other’s ideas. It is also not to late too flip ideas over to reveal new insights.

Ideation Techniques

The sky’s the limit when it comes to ideation techniques, however, they should combine the rationale with the creative and must match the kind of ideas designers seek to generate. It’s about using our imagination to come up with the best possible solution.

The most common technique is brainstorming, in which designers collaboratively build good ideas based on the problem statement defined, as well as the team’s idea. Once certain ideas form, designers might want to categorize them and dedicate certain areas in the room for specific ideas. The team can then add their additional ideas as they walk around the room (brainwalking).

Another useful technique is the worst possible idea which is better suited for more reserved individuals to produce bad ideas, which in turn result in valuable threads. It’s a also a fun way to flip the Ideation stage on its head and help relax everyone on the team.

A more graphical approach to ideation is the use of mind maps, which allow designers to connect ideas and find major and minor qualities for each. Or designers might want to sketch or storyboard their ideas using rough sketches or diagrams to express possible solutions. In order to dive deeper into solutions for a problem statement, the SCAMPER technique can be a great tool to produce solutions. SCAMPER stands for Substitute, Combine, Adapt, Modify, Put to another use, Eliminate, and Reverse. Designers can use the action words to question the problem statement at hand. A great example for this technique are new services such as Uber or AirBnB. The founders thought about ways to change the current cab and hotel industry, and voila Uber and AirBnB were born. The SCAMPER  technique can go hand in hand with the use of analogies to draw comparisons to communicate ideas better. For a more outgoing team of designers, consider role-plays in learner journey steps to find solutions. If a design team is stuck at any point, it can always fall back to their target audience and have them help crowdsource ideas. And sometimes, we just have to take a step back and take a creative pause in order to refresh our minds.

The Ideation stage is really the heart of the design thinking process. It is here that designers come up with human-centered design solutions. Choose an ideation technique that best matches the problem statement at hand, as well as the experiences of your design team. One technique might work well one day, but not the next. MIx them up to get the creative juices flowing and push the envelope to come up with outstanding solutions that help your learners succeed.

Continue Reading No Comments

Design Thinking – Stage 2: Define

The design thinking process takes a human-centered approach towards training and consists of five stages:

  • Empathize
  • Define
  • Ideate
  • Prototype
  • Test

In the Empathize stage, designers should connect with users or learners and gain insights into what drives and motivates them. Designers want to consider interviews and observations, as well as empathy mapping and the use of learner personas. Once designers know who their audience is and what really drives them, they can move on to the second stage in the design thinking process, the Define stage.

Define

In this stage, designers leverage all the information they have gathered in the first stage and organizes, interprets and makes sense of it. This allows to define the problem that is at the core of the design challenge. Meaning, designers have to define an actionable and meaningful problem statement that needs to be solved.. This design challenge will guide the designer and kick-start the ideation process rather than just defining learning objectives.This stage is about clarity and focus. Without it, it’s like stumbling in the dark. So let’s bring some light into the design thinking process.

A Good Problem Statement

The first step to shed light onto a design challenge is a good problem statement. It will guide a designer and add focus to their work, and it is the starting point to spark off new ideas in the Ideation stage. A good problem statement is:

  • Human-centered
  • Broad enough for creative freedom
  • Narrow enough to make it manageable
  • Actionable

There are multiple ways to define a problem statement that designers can follow with their teams.

Define a Problem Statement – Space Saturation and Group & Affinity Diagrams

This process might sound daunting, but is quite simple. Designers collect their observations and findings in one space using, for example post-it notes. This creates a collage of experiences, thoughts, insights and stories. Once all thoughts and insights are up on the wall, it is easy to draw connections between individual stories and insights and develop even deeper insights which help define the problem.

Define a Problem Statement – Point of View

In order to develop a problem statement in a goal-oriented manner, a point of view (POV) is a meaningful and actionable way to do exactly that. A POV allows designers to reframe a design challenge by combining three elements: user, need and insight. The following sentence can be helpful when developing a POV:

[User] _______ needs a way to [verb] ________ because [surprising insight] ________.

The measure of a successful POV is the number of different questions it will lead to as these questions are the base for the Ideation stage. Keep in mind that a POV should never contain a specific solution or how to fulfill a user’s need, but provide a wide enough scope to get the design team thinking.

Define a Problem Statement – How Might We Questions

Start using the POV by asking specific “How Might We” questions (HMV). These questions need to be built on the observations a designer collected in the Empathize stage. HMV questions should be broad enough for a wide range of solutions, but narrow enough that specific solutions can be created for them. Just like with POVs, the more questions a design team can come up with, the better. It opens up the design challenge to more solutions. HMW questions are really the launchpad for brainstorming sessions in the Ideation stage. To take it even further, ask “what is holding us back” for each HMV question to develop additional insights for the Ideation stage.

The Define stage is the crucial link between the Empathize and Ideation stage. It is however important to note that these stages don’t necessary happen in a linear way, and a design team might realize they have to go back and forth in order to find the best solution for their design challenge. The Define stage will help a design team gather great ideas to establish what possible elements would be part of the training solution.

Continue Reading No Comments