Posts Tagged ‘Learning Experience’

A Peek Into a Marketer’s Toolbox

Marketers are good at writing a short and precise message that resonates with the desired target audience. They don’t use bullets to bring their points across but rather leverage catchy language, images and colors to speak to our emotions. The big question is, why don’t L&D professionals use Marketers’ tools more often to reach their audiences?

Marketing doesn’t have to be difficult; you don’t have to be a graphic designer to create stunning images in your presentations or eLearning modules. I want to share some tools you can leverage to improve your messaging to your learners which will also help you promote your learning to your stakeholders!

Canva

Canva is an excellent free resource offering you hundreds of designs for your presentations, social media posts, infographics and so much more. It is my absolute go-to when it comes to creative assets. They even offer free tutorials “Learn how to design” to help you along the way! Their newest feature allows you to invite up to ten team members and share your creations with each other. You have access to basic backgrounds, layouts, illustrations, shapes, icons and charts. Canva offers you the option to upgrade for unlimited assets or simply purchase images one at a time. Once you created a design, you can download it as a .jpg, .png or PDF. Automatically, Canva saves all of your designs for you to conveniently download them at any time in the future.

Biteable

If you are looking for a simple to use video tool, look no further. Biteable is a great way to create online videos and animations that you can share on YouTube or other social media channels. It offers a multitude of predefined slide layouts to choose from. You can customize text and color on each and even add music to it. Biteable has a free version. The downside however is that you will have a watermark in the bottom right corner of your video and you can’t download it. You can purchase one video at a time or sign-up for a one year subscription for $99. It’s a fun way to engage your learners before a training session and show them what’s in it for them (instead of listing boring bullet points).

ViewedIt

This new tool is a video, screencast and voice recording. Not only can you create and send videos, you can even track them. ViewedIt is a Chrome Extension and sends you weekly notifications about video views. On top of that, it creates thumbnails so you can ensure your audience is clicking the play button to learn more. In my opinion, this tool is used best for screen recordings that you want to share with your learners ahead of a training session to help increase engagement and interest.

Licecap

If you feel that a video is too long for the message you want to convey to your learners or you want to bring some pep in your FAQs, try using GIFs in your learning. Licecap is a very basic tool that allows you to do to exactly that. Once the program is open, record the section of your screen you want to create a GIF from. Try to keep the GIF frame to the area of interest and refrain from too much scrolling. You will achieve best outcomes if your GIF is 7-10 seconds long. So next time you want to show learners how to reset a password or log into a system, create a GIF and share it in an email.

Marketers use an array of tools that make their lives easier and that delight their customers. We should really learn from Marketing and take a peek into their toolboxes on a regular basis. Which tools do you like to use to delight your learners? Share your thoughts below.

Continue Reading No Comments

Create Learning Experiences Using a Marketing Mix

The phrase “marketing mix” refers to the tools and tactics a company uses to reach its marketing objectives. In L&D, we usually don’t think about all the tools and tactics we have available to pursue our objectives, learning experiences as products, or how to promote and place them within our organization. There is a lot to be learned from marketing.

What Is a Marketing Mix?

In a nutshell, the marketing mix positions the right product, at the right place and price, at the right time. It is most commonly known as the four Ps: product, price, place and promotion.

Through research, marketers ensure that they have the right product in place. Furthermore, they have to keep an eye on declining sales and the possibility to reinvent the product to stimulate more demand. The main question that they need to answer is, “What can I do to offer a better product?” Marketers often look at what customers want from a product, how and where they will use it, and even what the name of the product should be.

Price determines a company’s profit and has a big impact on the marketing strategy by affecting sales and demand of the product. Place dictates how customers access the product. Marketers need to understand their target markets well in order to develop the right distribution strategy. Questions they ask might include where potential customers look for the product and how different distribution channels are accessed.

Lastly, promotion helps marketers boost brand recognition and sales. Marketers often ask themselves about the best time to promote a product and if social media can help promote the product, and they might look at the promotion strategies of competitors. In the services industry, we can often find a modified version of the 4Ps: the 7Ps. This model adds people, process and physical evidence to the mix.

Create an L&D Mix to Engage Learners

In L&D, we can leverage some of this thinking to deliver more effective training. People are the target audience for whom we build our product. L&D professionals already carefully analyze their audience to ensure a learning solution meets their needs.

The product is a particular learning solution, such as compliance training. It is not enough to look at the content itself; L&D professionals should consider how to make this solution better in order to achieve higher completion rates. A simple “click-the-next-button” module is most likely not enough. Instead, think about how you can use a story to draw the learner’s attention to the course and keep them engaged throughout it. Come up with a more catchy title for the course, instead of just calling it “Sexual Harassment Course.” Continuously watch analytics and data to ensure the product meets your objectives. If not, you might have to reinvent the learning solution.

Price might not seem like a component of the L&D mix, but costs need to be considered as training solutions are developed. As L&D professionals come up with exciting ways of delivering training, often, the price tag goes up. It will be your task to sell the higher price tag to your stakeholders and, at the same time, show the value the learning solution brings to the table.

More often than not, training solutions are still delivered through LMSs, which means the place in the L&D mix is often predetermined. However, L&D professionals should consider other access points, such as intranet sites and YouTube. Think about how learners are accessing the course (i.e., mobile versus desktop). Use LMS data and Google Analytics to better understand how and when learners access content. This analysis will help place the product in the right spot.

Promotion strategies are rarely considered when creating new learning solutions. The success of a course is often measured through completion rates, among other metrics. Adding the course to an LMS and sending an email to all employees isn’t enough. L&D professionals should think about ways to promote the product, create excitement and engage learners from the get-go. Think posters, teaser videos, informal lunch meetings or flyers on employees’ desks. Be creative, and see your completion rates go up. To further investigate, ensure you are using additional data points wherever possible, and take evaluations and test results into account.

Process is the overall project planning, from the first ideation to design and all the way through to the end product. It should include all stakeholders. Project management tools can help L&D professionals stay organized.

Free Tools to Help Create An L&D Mix

It might sound daunting to look at L&D through a marketing lens, but there are many helpful free tools out there to get you started. First, to work collaboratively with the rest of your team, find a project management tool that allows you to capture all elements of your L&D mix in one place.

There are also free resource that offer hundreds of designs for your promotion strategy. On these websites, you have access to basic backgrounds, layouts, illustrations, shapes, icons and charts. Once you created a design, you can download it as a JPG, PNG or PDF. Also look for a simple-to-use video tool. These tools are a great way to create online videos and animations that you can share on your social media channels. Some offer predefined slide layouts to choose from and the ability to customize text and color and even add music.

If you feel that a video is too long for the message you want to convey to your learners, or you want to bring some pep to your promotion strategy, try using GIFs. Online programs offer the ability to record a section of your screen from which to create a GIF. Try to keep the GIF frame to the area of interest, and refrain from too much scrolling. You will achieve the best outcomes if your GIF is seven to 10 seconds long.

Marketing and L&D have more in common than we might think, and L&D professionals should not shy away from taking a peek into the marketer’s toolbox to create learning experiences that stick.

Continue Reading No Comments

User Centered Design Through Learner Personas

The concept of personas is well known to marketers. To create a persona, marketers develop multiple fictional character profiles that describe their real and potential customer base. Based on these personas, they then develop content that resonates with them. L&D professionals can also leverage this user-centered approach to create better and more engaging learning.

What Are Personas?

You can think of personas as fictional, generalized characters, each with individual goals and needs. Marketers observe behavior patterns among their real and potential customers and couple those observations with educated guesses, which help them understand their customers better. A persona can include the following information:

  • Job role and responsibilities
  • Biggest challenges
  • Industry
  • “Watering holes” (Where do these learners go to get their information, such as blogs, websites, publications, etc.?)
  • Demographic
  • Personal background

Marketers research personas by capturing specific information through forms on websites, interviewing current customers, looking for trends in databases and asking for feedback from the sales team. Developing three to five personas typically results in the best outcomes. Some personas are very detailed, while others are a brief sketch of each user. Either way, marketers usually include a fictional name and a picture in the persona. When reading a persona profile, the “person” comes to life, helping marketers create products and content that align with his or her needs, goals and interests.

Developing a Learner Persona

Why should L&D professionals care about personas? They can help you can create the right content, for the right audience, at the right time.
Here are some questions you can ask, or extract from learners’ personal information you have on file, when developing your learner personas:

  • What is your job role?
  • Are you a manager?
  • How many years have you been with this organization?
  • Have you changed roles within the organization?
  • How would you rate your tech-savviness?
  • Do you prefer learning online or through face-to-face training?
  • Are you an early bird or a late riser?
  • Are you involved in volunteer work organized by our company?
  • What do you do in your free time?

Ask these questions, but also use data from your learning platform. Many platforms enable you to see when and how content has been accessed. If your system doesn’t capture these data, try to collect them using Google Analytics on any activities that are happening outside the LMS, and combine them with data you can gather using your LMS. The combination of questions, learning platform data and demographic data will result in a variety of profiles, and you can then categorize your learners into different groups.

Creating Engaging Content That Resonates With Your Learner Personas

Let’s look at two examples of learner personas:

  • Burt, 43 years old, he has been with your company for six years. He’s a manager in the support department, overseeing five staff. He is extremely tech-savvy and loves to learn about new technologies in his free time. Burt learns best after work hours and prefers to access learning through his mobile device on his commute home. He volunteers his time twice each year to help with charity events organized by your organization.
  • Apama, 23 years old, is fresh out of university. English is her second language, and she works as an administrative assistant. She enjoys getting up early and going for a run before coming to work. Apama loves her iPhone and is good at using her Mac, but she isn’t as familiar with PCs, which your company uses. She isn’t really interested in new technologies and learns best in face-to-face training where she can asks questions on the spot.

Burt and Apama are, of course, not real people, but their personas can be extended to other people in your organization who have similar interests and job roles. To create content for “Burt,” you might develop a training solution that is quickly accessed through a mobile device and shorter than eight minutes in length, delivered over a couple of days. You can push this content to those learners shortly after 5 p.m., which is when they are on their way home. “Apama,” on the other hand, would need the same content in a face-to-face training session, where she can ask questions, ideally held in the morning.

Developing multiple training solutions for the same content is more labor-intensive and might not always be possible. However, considering the positive outcomes you will be able to achieve (more engaged learners, better on the job performance, etc.), it might be worth the investment, especially for programs you run on a regular basis, such as onboarding or annual compliance training.

Continue Reading No Comments

Design Thinking – Stage 5: Test

Design thinking is becoming more and more prevalent in training design. Consisting of five stages (Empathize, Define, Ideate, Prototype, and Test) [link to previous articles], it is a human-centered design approach that helps designers create outstanding learning experiences.

Through interviews, observations, the creation of empathy maps and learner personas, designers connect with the learner and gain valuable insights in the Empathize and Define stages. In the Ideation stage, data collected in the first two stages is interpreted and designers define a problem statement before ideating some concepts. Equipped with a variety of ideas collected through brainstorming, mind maps or analogies, designers move on to the Prototype stage, in which they produce a number of  inexpensive, scaled down versions of the solution. The prototype should be shared within the team and a wider audience to get as much feedback as possible. In this stage, designers move from an abstract idea to a more tangible product. Once a prototype is in place, the designer can move on to test the solution.

Test

It’s most important to remember that, despite the fact that testing is the last step in the design thinking process, it is certainly an iterative process. Meaning, results from the test phase are used to redefine problems, inform the understanding of users, how people think, behave and feel. Rigorous testing should be done not just by the designer, but by other evaluators to ensure the solution meets the learners’ needs. As a result, designers may have to go back to the drawing board and come up with a different solution.

User Testing

User testing can certainly happen throughout the design thinking process, but let’s take a look at some ways of conducting good usability tests. It is best to use a natural setting to test the prototype, meaning the familiar environment the learner is used to. The goal should be to have learners use the prototype like they would in real life as much as possible. Follow these guidelines for best outcomes:

  • Tell the user that you are testing the prototype, not the user
  • If possible, have alternatives for the prototype so you can test which version works best
  • Do not over explain the prototype but watch the learner use it, and write down your observations
  • Ask users to talk through their experience when using the prototype
  • If you only want to test certain portions of the prototype, have specific  tasks ready that the learner should perform
  • When you observe the learner, make sure you don’t disrupt the user’s interaction
  • Ask follow-up questions to clarify what the user is describing
  • Think about having an additional person to take notes and write down observations so you can focus on the learner

Negative and Positive Feedback

Don’t be discouraged by negative feedback. On the contrary, negative feedback can provide lots of insights into your solution. It can help designers find new ways to solve the same problems, or help discover previously unconsidered problems. Designers have to seek feedback wherever possible, conduct test using real end-users, analyze the results to determine what’s working and what isn’t. The end goal is a desirable, feasible and viable solution.

Desirable and Feasible Solutions

Desirability relates to the focus on people. It is at the heart of design thinking: human-centred design. A solution always needs to be appeal to the needs, emotions, and behaviours of our learners. Feasibility refers to the technology in place and answers the question if your design solution is technically possible. Technology shouldn’t hold you back, but sometimes a solution cannot be implemented without occurring huge costs.

To summarize, despite having five, as it seems liner stages, the design thinking process is fluid, iterative and flexible. Stages feed into one another and form iterative loops, they don’t follow necessarily any sequence in a project. The best gauge of success is when your training solution satisfies the desirability and feasibility tests.

Continue Reading No Comments

Design Thinking – Stage 4: Prototype

Instructional designers are not only tasked with traditional design projects anymore, but are expected to design in a more human-centered approach. The design thinking process can help designers achieve exactly that. It consists of five stages that aren’t necessary linear, but require the designer to go back and forth in order to create the best learning experience. The five stages are Empathize, Define, Ideate, Prototype, and Test.

Designer connect with the learner and gain more insight in the Empathize and Define stages [link to previous posts] by interviewing learners, observing them, creating empathy maps and learner personas. Once designers interpreted the data from these stages, they define a problem statement and are ready to ideate [link to previous post]. In the Ideation stage, designers are looking at every possible angle for their problem statement. Methods like brainstorming, brainwalking, worst possible idea, mind maps, storyboards or analogies can help designers in this stage to come up with a list of possible solutions. Equipped with a multitude of ideas, designers move to the Prototype stage.

Prototype

In this stage, the design team produces a number of inexpensive, scaled down versions of the solution. The goal is to investigate which problem solution is the best possible solution for the design challenge at hand. It is recommended to share prototypes within the team and if possible with a wider audience. In this experimental phase, designers accept, improve and re-examine or reject solutions based on the user’s experience. Through this process, the design team will be better able to tell how a real user would behave, think and feel when interacting with the learning solution. In this stage, designers move from an abstract idea to a more tangible product.

Types of Prototyping

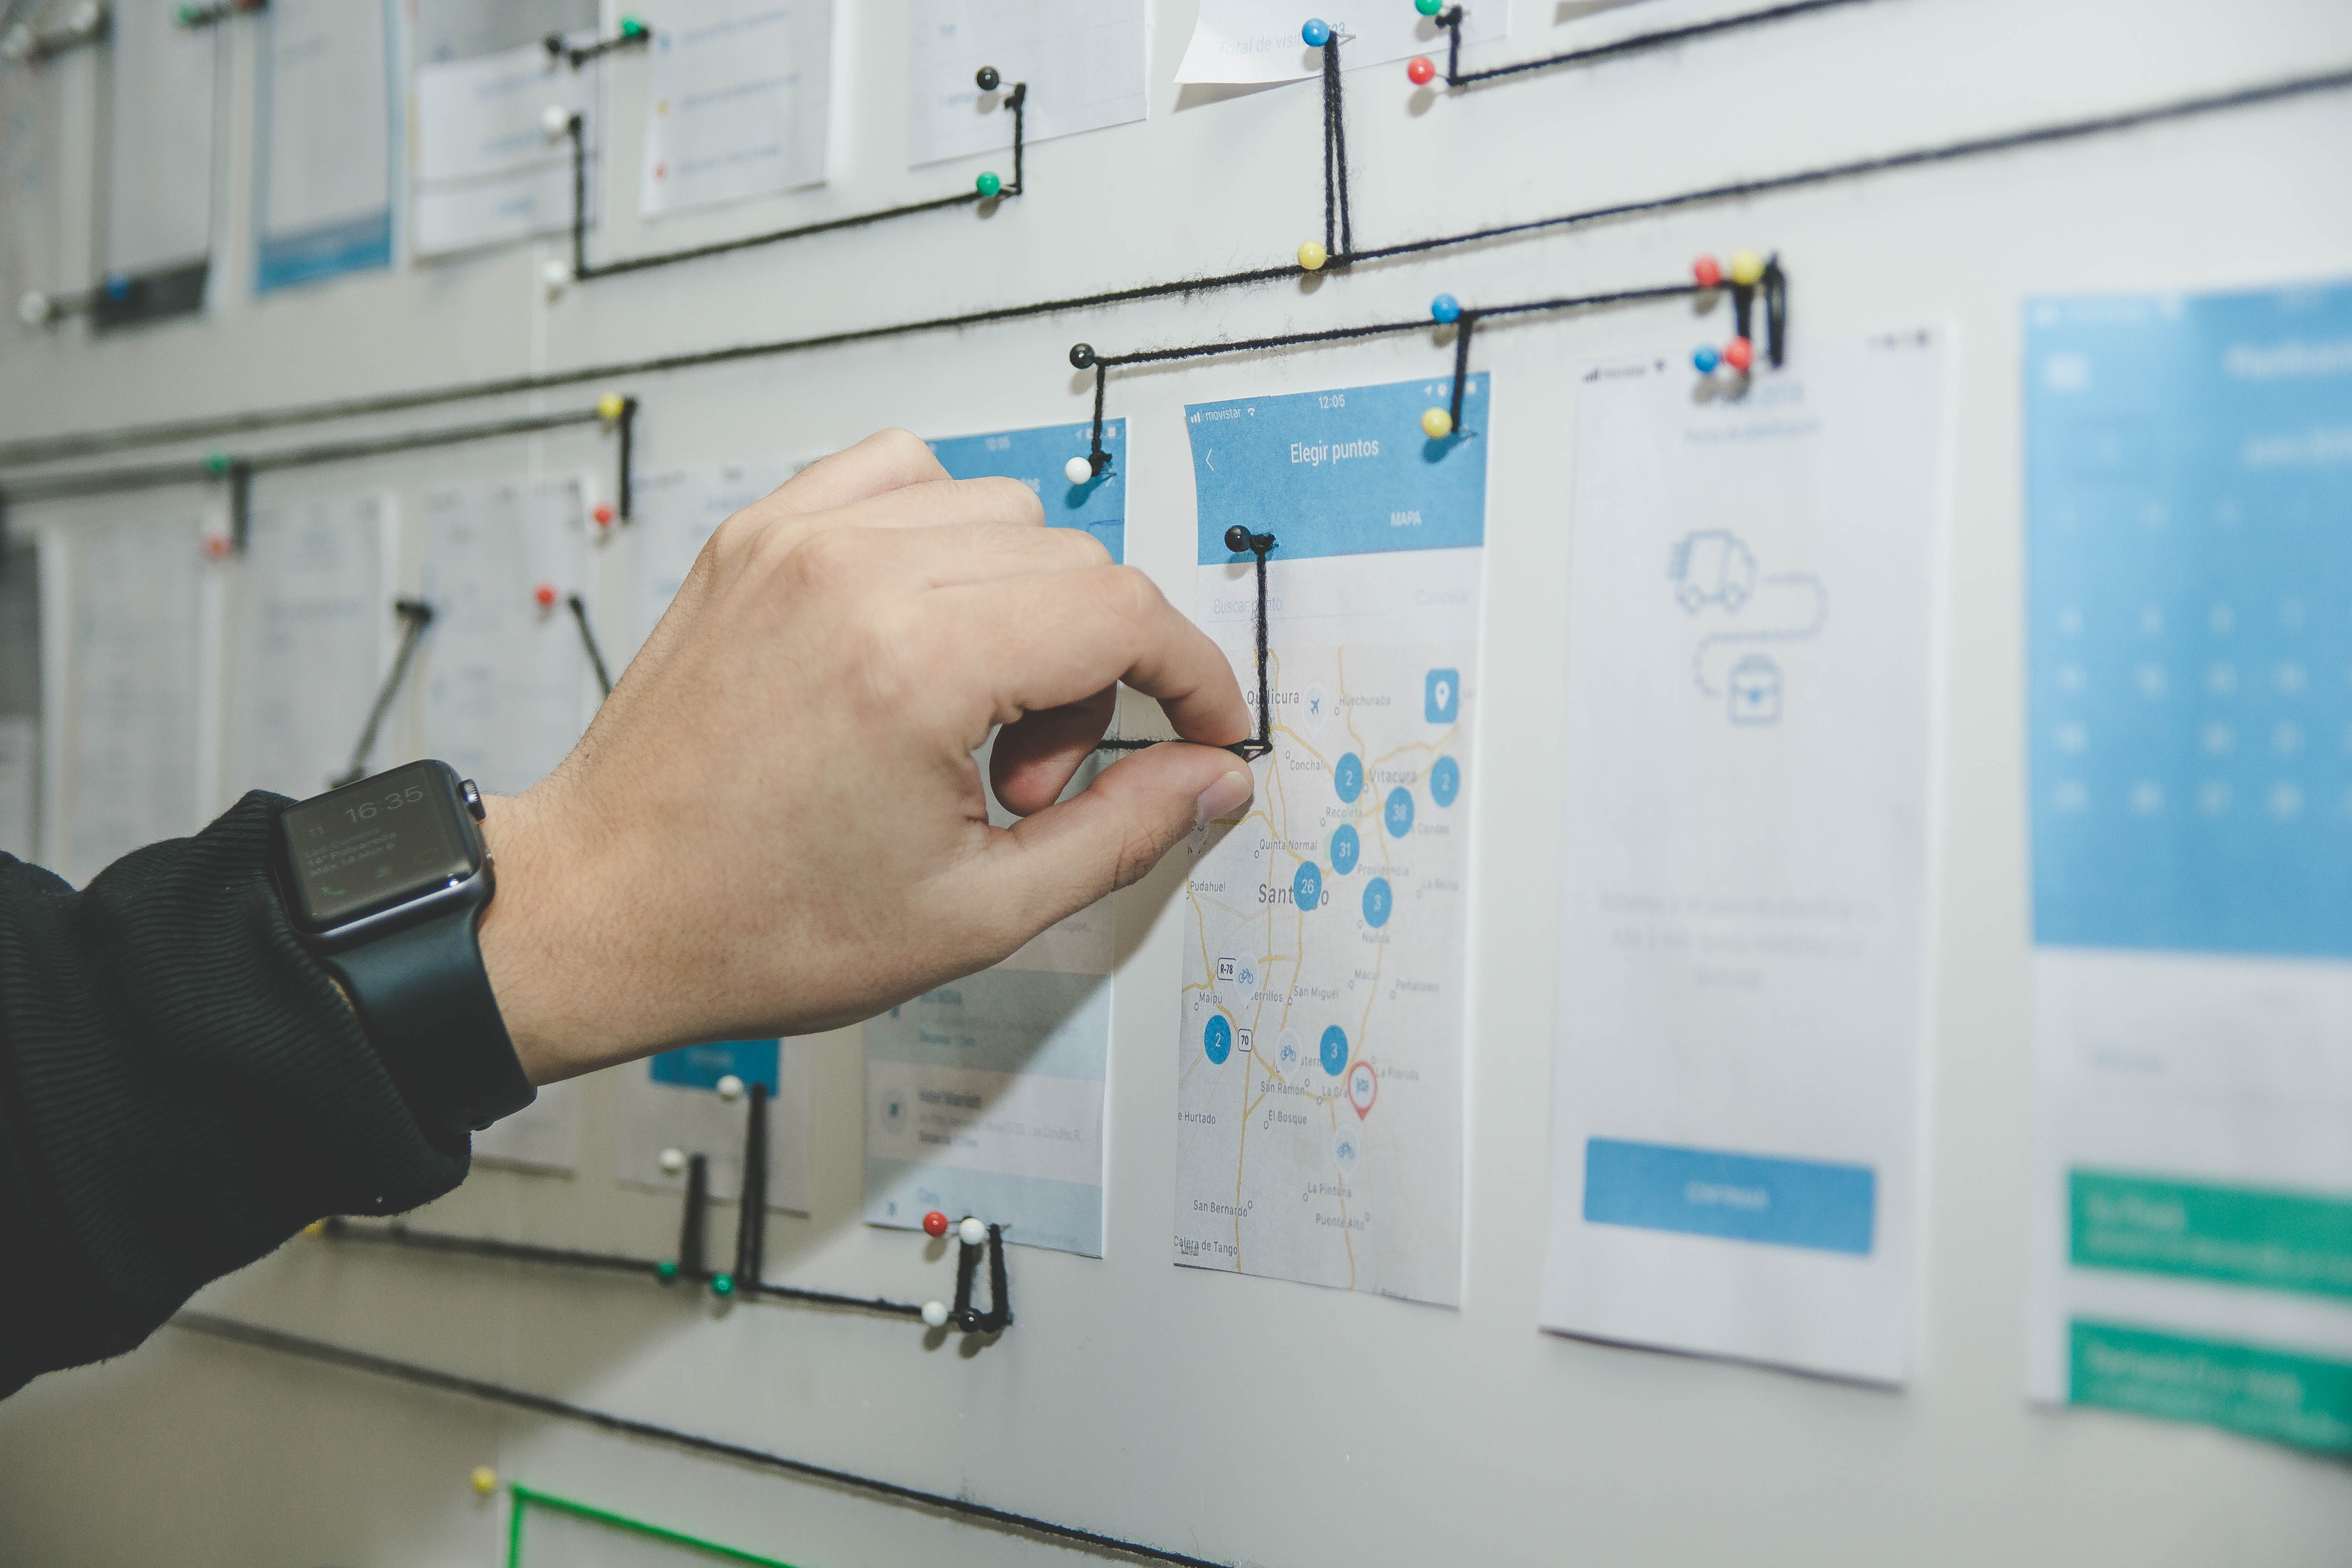
Prototyping doesn’t have to be time-consuming, expensive or difficult. Different fidelity levels allow designers to come up with solutions quickly. Fidelity means the level of detail, functionality or interactivity that a prototype has. Here are some ideas.

Low-Fidelity Prototyping

Low-fidelity means that the prototype doesn’t have a lot of detail, no images or colors. Instead, it uses placeholders for images and text, but shows the flow and functionality of a solution. It can be created on paper and be a simple visualization and doesn’t require any expensive software. Storyboarding, sketching and card sorting are two very inexpensive and simple ways to create low-fidelity prototypes. Low-fidelity prototyping is quick and inexpensive, and allows for instant changes. It helps designers to get an overall view of the end-solution using minimal time and effort. On the other hand, low-fidelity has a lack of realism and may lack validity

High-Fidelity Prototyping

These prototypes look and function closer to the finished product. It could be a 3D model with moveable parts or using a prototype tool to build out the experience on a phone or desktop computer. This prototype has most design assets and components developed and integrated. High-fidelity prototypes are more engaging for the users to test and it is easier to judge if this solution will work. They do, on the other hand, take much longer to create and users might focus more on small details instead of the content presented. It takes longer to update high-fidelity prototypes as well and sometimes, it is difficult for a designer to make changes after hours and hours have been invested in building the prototype.

Guidelines for Prototyping

Designers might start with low fidelity and then move to high-fidelity at a later stage in the design process. Don’t overthink this process and simply start building a prototype. It will help you think about the learning solution in a different way and potentially give you different insights. Don’t spend too much time, money and resources on the prototype as to not get emotionally attached to it, in case you have to make changes later. Never lose sight of the issue you are trying to test with your prototype, and always build with the user in mind.

Continue Reading No Comments